“Telegraphing” and Other Issues Inherent to Engineered Wood Flooring
Engineered wood flooring makes up more than half of all the hardwood flooring that’s being sold.
Having a general appreciation of the features and limitations of both solid and engineered wood flooring is a necessity for those working in the wood flooring industry, specifically when it comes to an understanding of how both products perform.
Whether the floors are solid or engineered, they usually respond to the environment in which they’re installed. However, some floors respond much differently than others simply due to how they’ve been constructed.

And here it comes:
Engineered wood floors can be much more complex than their solid flooring counterparts simply because engineered flooring varies greatly in their construction from manufacturer to manufacturer and from product to product.
Due to the stated differences, it is nearly impossible to place all engineered flooring into one simple category related to how they should be installed or how they will respond to a change in environment.
These construction differences may include some or all of the following: species of the wear layer (i.e..Oak, Maple, Walnut, etc…). thickness of the “wear layer” (i.e… 2mm, 3.5mm, 4mm, 6mm, etc.) width (i.e. 5” wide, 6” wide, 7.5” wide, 10” wide, etc.), and, the thickness of the overall product (i.e. ½” thick, 9/16” thick, ⅝” thich, ¾” thick, etc.), number of “plies” making up the the core (i.e.. 3 plies, 5 plies 7 plies, 9 plies & 13 plies, etc.), core material type (i.e..Baltic Birch), backing material, adhesives used, construction method, moisture content of each layer, balanced and unbalanced construction, and more.
All of these variables affect how the flooring will perform, and help determine in which types of environments it will perform best.
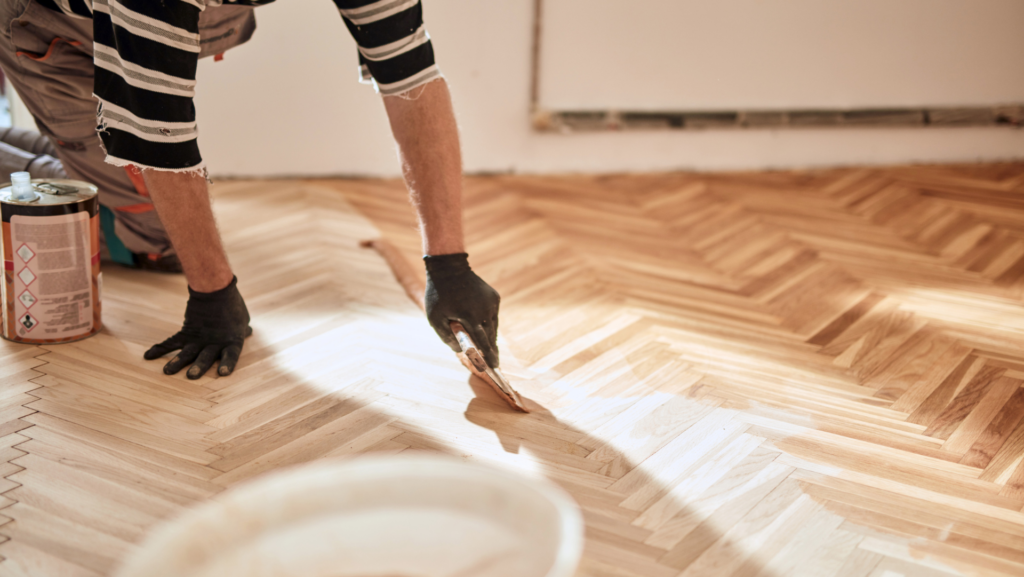
Obviously, it's no secret that during the manufacturing of engineered hardwood flooring, you can often encounter various problems.
But who’s fault this falls on is an entirely different question…
Recently, we stumbled upon an extremely interesting engineered floor inspection that highlighted the problem of “telegraphing”.
So, in order to figure out what exactly caused such the issue of “telegraphing”, we need to carefully examine all the details of this case.
In this case, the homeowner purchased engineered hardwood flooring from
“Provenza Floors” in 2021, and, subsequently after, started noticing what is called “telegraphing”.
The National Wood Flooring Association (NWFA) defines “telegraphing” as: “Visible patterns on the surface of the wood floor plank that resembles variations in the engineered flooring core material”
PHOTO 1

This photo shows the effects of “telegraphing” on the floor. The gaps seen here are visible from a standing height. The light is clearly visible through the gap under the tool, indicating prominent telegraphing.
PHOTO 2

In this photo, you can see how the black, two-part epoxy has popped out, along with the splintering of the veneer.
PHOTO 3

With the help of a magnifying device, you can see how some of the finish of the flooring came out, most likely due to the tape being applied and ripped off.
PHOTO 4

At the time of this inspection, the temperature of the home on the ground floor was 72.7 degrees Fahrenheit. The humidity at this time and location was 46.2% percent, which are in accordance with the manufacturer's specifications.
In this photograph, the thermometer is showing that the temperature upstairs (72.7 degrees Fahrenheit) was slightly higher than the temperature downstairs, measuring @ 74.5 degrees.
The inspector believes that the lower temperature downstairs contributed to the telegraphing, as it was most observable in that location.
“Telegraphing” is caused by a gain or loss of moisture content, causing the wood filler or “core” of the materials to change dimension, which then “telegraphs” to the surface of the plank. “Skips” (voids), missing or open knots, or overlapping within the core material, can be telegraphed to the surface of the plank.
Relying on the humidity readings measured during the inspection, we can claim that the moisture levels in the home have been consistent throughout the installation process to date.
Consequently, the cause of telegraphing was the issue during the manufacturing process. So, using the example of this inspection, we have analyzed only one engineered hardwood-floor issue.
However, to be honest with you, would you like to see the whole list of issues & causes inherent to engineered hardwood flooring?
The NWFA (National Wood Flooring Association) recently published a 3rd edition of NWFA Problems, Causes, and Cures (Technical Publication C200) which explores some of the issues that impact ALL hardwood floors, including their causes, and potential cures. However, since our article is about engineered hardwood flooring, Olde Tyme Floor Company (OTFC) prepared the following highlights of the more common issues that are unique to these wood floors.
Delamination (Glue-Line Separation)
The first on our list is: Delamination/Glue-Line Separation which occurs when there is a separation of two layers/plies within a piece of engineered flooring due to the lack of an adhesive bond. The National Wood Flooring Association defines it as a “clean separation at the glue line”. Adhesive bond failure is unrelated to inadequate relative humidity levels.
Causes for Delamination (Glue-Line Separation) may be either of the following:
- A manufacturing failure where the veneers are not bonded together properly due to inadequate adhesive application, missing adhesive, dried or uncured adhesive, or, “steam” pockets.
- Incidents where extended or repeated exposure to standing water (flooding) has occurred.
Dry Cupping
It is a concave or “dished” appearance of individual engineered flooring planks where the edges are raised higher than the center of the flooring.
Causes for Dry Cupping may include the following:
- When relative humidity levels remain below the manufacturer’s recommendations for long enough, engineered planks can begin to “Dry Cup”. When this happens, the top wear layer (veneer) loses moisture and begins to shrink across its outer face, which can exert enough force on the core material, pulling the edges of the plank upward, causing a “cupped” appearance across the width of the board.
- In severe cases, layers within the plank may separate from one another when these stresses exceed the strength of the wood flooring material itself, resulting in “ply separation”. This is most common in dry regions and during dry seasons.
- Inadequate or inoperable HVAC systems which resulted in elevated humidity levels.
Endlifting
“Endlifting” is a condition where the ends of installed engineered, hardwood flooring deviates from the flat plane and appear raised or curved upward.
Causes for “endlifting” may include the following:
- The Flooring is incompatible with the environment in which it has been installed.
- Engineered hardwood flooring that has experienced an increase in moisture, where the core material running perpendicular to the face of the board swells at a different rate, and, in a different direction than the adjoining layers, forcing the ends of the material to “lift”, which can then telegraph to the surface of the plank.
- Inadequate, or, inoperable HVAC systems that result in elevated humidity levels.
Improperly selected, installed, or applied moisture control systems (vapor retarders, moisture-barriers, etc..) that do not provide adequate protection from the subfloor.
- Maintenance-related:
- Wet-mopping, which results in standing or topical liquid moisture which is left on the floor.
- Using steam mops, or cleaning devices.
- Using non-breathable rugs on the floor.
- Not maintaining relative humidity levels year-round to support the installed flooring.
Wood Shear
This issue occurs when external stresses exceed the strength of the wood fibers within an individual plank of engineered flooring, resulting in the wood fibers being torn apart. When examining this type of failure in an engineered hardwood floor, wood fibers will be visible at the point of separation, remaining bonded to the adhesive layer.
Causes for “Wood Shear” may include:
- Layers within the flooring, shrinks or swells excessively because of low relative humidity, or, excessive moisture (outside of the manufacturer’s recommendations), thereby creating excessive force on opposing layers, sufficient enough to tear the wood fibers apart.
- Inadequate or inoperable HVAC systems result in elevated humidity levels.
Veneer Sand-Through
It is just what the title infers: when the top, wear layer veneer (lamina) of engineered flooring has been completely sanded through to the core layer. There is only one cause for veneer sand-through:
- Sanding of an engineered wood floor beyond the thickness of the top wear layer of wood to the core layer.
Lathe Checks
This issue occurs in engineered flooring with rotary peeled or sliced face veneers.
As the knife separates the veneer from the log, the separated sheet of wood is laid flat where stresses can occur in the region near the knife edge. If the strength of the wood is exceeded, this stress is relieved by separations (or checks) of the wood fibers parallel to the grain of the veneer at the knife edge. The knife edge of the veneer is known as the open-side (or loose-side), and the opposite side of the veneer is known as the “closed-side” (or tight-side). Lathe checks are not normally visible on the face of the finished board.
Causes for lathe checks in engineered flooring may include the following:
- Lathe checks may become apparent and transfer to the surface by failing to maintain the ambient interior conditions specified by the manufacturer for the life of the product through ALL seasons. Loss of moisture or inadequate conditions post-manufacture can expose or generate fractures in the face veneer (lamina) at any time.
- Excessive and rapidly fluctuating environmental conditions from above or below the floor can cause stresses in the veneers sufficient enough to cause fractures in the face veneer at any time.
- Lathe checks may develop or become apparent under any of the following circumstances:
- Improper maintenance practices.
- Improper management of direct heating sources, such as underfloor radiant heating systems, surface heat from uncovered windows, or near heat registers.
- When the floor is covered post-installation with impermeable floor protection, exposing the floor to conditions outside of the manufacturer's requirements.
- Hand-scraped products that have been scraped too deep expose the lathe checks.
- Inadequate or inoperable HVAC systems result in elevated humidity levels.
- Manufacturing-related:
- Damage is caused during the slicing of the face veneer by the knife, by the pounding action of dull knives, knives with too small of a clearance angle, or excessively jointed knives.
- Excessive pressure by certain machine parts such as feed rolls, pressure bars, or a chip-breaker can also cause this cracking in the wood.
- Face-checks may become apparent when the manufacturer inadvertently installs this side of the veneer upside down (or face up.) This is a rare occurrence that can only be verified by close examination of the cell structure of the exposed substrate of the face veneer.
- Lathe checks may telegraph through to the finished surface of the flooring causing less elastic finishes to display fine, linear cracks in the surface of the finish, precisely in the same location as the underlying anomaly.
To avoid these unpleasant issues with your engineered hardwood floors (listed above), OTFC (Olde Tyme Floor Company) advises you to select materials very carefully and check the manufacturer several times before purchasing the materials.
And of course, the critical factor in caring for hardwood floors, is the environment.
Monitor the temperature in the house, and, if possible, protect the flooring from direct ultraviolet rays.
Create the right environment for your hardwood flooring and they’ll perform for you for many years!
Nevertheless, it’s always better to entrust every step from the selection of materials to installation and maintenance to professionals like us!

In this photo, the flooring inspector demonstrated how the telegraphing occurs. By turning one of the floorboards upside down and placing it face-down on top of another plank, you can see how the skeleton of the floorboard, which is made up of many smaller squares of wood, is reproduced on the face of the plank, after the installation.
The inspector determined the presence of telegraphing as he examined the underside of one of the floorboards and found that the shapes appearing on the top side of the wood are identical to those pieces of wood that make up the core material of the wood underneath the veneer.
Although, in this particular case the cause is not definitive.